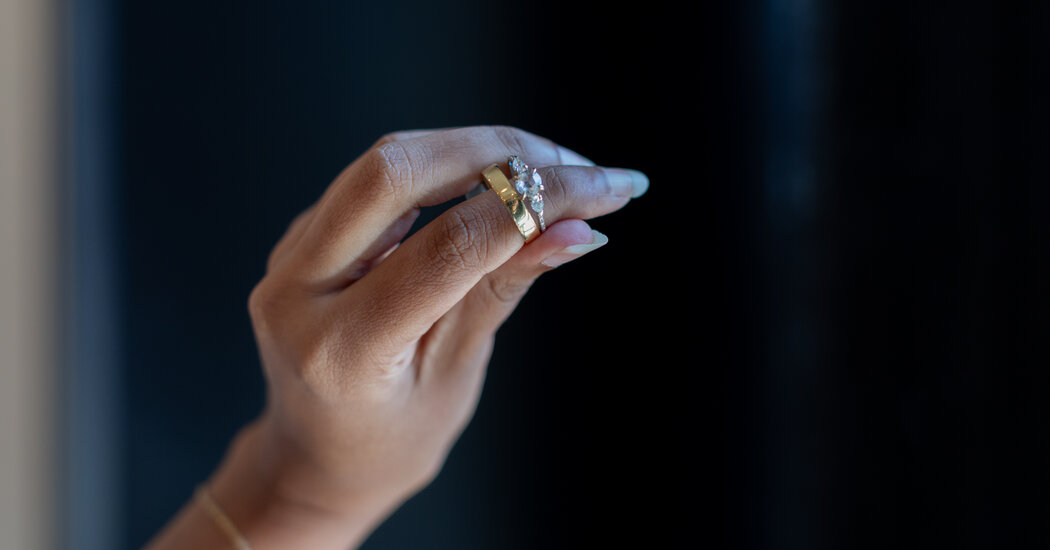
Giving yourself a good manicure isn’t just a question of clipping and filing your nails; for starters, the rest of your hands need love, too. With the right tools and gentle care, you can get salon-like results at home (which might also mean saving some money). Here’s what the experts recommend for nails that look healthy and polished, even if they’re not painted.
1. Create a clean base
First, wipe off any old polish. The Los Angeles-based nail artist Betina Goldstein suggests Karma Organics’ oil-based removers; acetone, the key ingredient in many other products, can dry out nails. And if you find that your skin gets stained while removing particularly dark colors, the New York-based nail artist Megumi Yamamoto recommends applying cuticle oil to the skin around the nail first.
Next, clean your hands with soap and water or a hand sanitizer. Yamamoto’s favorite cleansing solution is Sea Breeze, which “is not too drying and smells very fresh,” she says. Even though soaking your fingers in water is a common step at many salons, Yamamoto and Goldstein advise skipping it, especially because it can lengthen the time it takes polish to dry and make it streak.
Then, gently push back your cuticles. This makes bare nails look more elongated and even, and “if you apply polish on top of your cuticle, it’s going to look bumpy and peel faster,” says Goldstein.
-
Yamamoto begins by softening the cuticles with a dab of Sea Breeze. Alternatively, she suggests applying Blue Cross’s Cuticle Remover to the base of your fingernails and letting it sit for a minute.
-
Then, she uses an orange stick, topped with a small piece of a cotton ball, to push the cuticle back. If you used a remover, wipe away any residue.
-
Use a cuticle clipper to get rid of any hangnails, but leave cutting the actual cuticles — an optional, occasional step — to the professionals.
2. Trim and shape
If you’re taking off a lot of length, start with a clipper, like Seki Edge’s stainless steel option. Cut the sides of the nail tip, then snip the middle to even things out.
If you’re just refining your shape, Goldstein says that simply filing should do the trick. Glass files are the least likely to leave your nails with ragged edges and are easy to clean, she says. If you prefer an emery board, choose one that you can sanitize; Goldstein recommends files from CND and ORLY, and both she and Yamamoto like Flowery’s range of boards. Whichever type you use, Goldstein says a grit, or coarseness level, of 180 to 240 is best for natural nails.
To shape the nails, Yamamoto recommends filing at a 45-degree angle. Move in the direction of your thumb in smooth, single strokes. Finish each nail with one stroke in the opposite direction. “Do not saw your natural nail back and forth,” warns the London-based manicurist Lauren Michelle Pires, 34, explaining that this leads to peeling and flaking. To make your nails square, carefully file the top and then shape the sides by gently filing upward. For a more rounded nail, follow the curve of your fingertips.
3. Buff
Lightly buffing the surface of your nails can give them a natural shine. It can also help polish adhere better, if you choose to add any. Yamamoto recommends three-way buffers, which feature three different levels of coarseness: Manucurist offers a good option. Start with the coarsest side to remove particularly rough patches; follow up with the medium side to smooth the whole surface; and then add shine with the softest side. At every level, move the buffer horizontally across the nail, to help smooth out vertical ridges, Yamamoto advises. Then, “use the edge of the buffer,” she says, “to polish the creases” where the sides of your nails meet your skin.
4. Smooth and soften your hands
Start by exfoliating, to remove any dead skin. “I like to do this twice a week,” says Goldstein, who swears by the softening effect of Osea’s Malibu Salts of the Earth Scrub. Then massage the hands with a moisturizer, paying special attention to the cuticle area. Goldstein uses a pea-size quantity of rich hand cream mixed with two drops of vitamin E oil; for the former, Yamamoto recommends Cetaphil’s Moisturizing Cream and Cicabiafine’s Intense Repair Hand Cream. If you plan to apply polish, wipe away any excess moisture from the nails with a small amount of rubbing alcohol on a cotton round, Pires says.
5. Apply polish, if you want
If you prefer bare nails, Yamamoto suggests adding some subtle shine with a nourishing serum or oil, like the Japanese brand Uka’s Nail Oil Basic. For a more colorful manicure:
-
First, apply a base coat if you’re painting your nails a light or sheer color. Yamamoto’s favorites include formulas from Uka and Zoya.
-
Once you’re ready for your main polish, prevent drips by wiping off one side of the brush inside the bottle’s neck after each dip; you’ll have better control over where the polish goes.
-
Paint nails in three strokes: starting right above the cuticle, brush once up the middle, once on the right side and once on the left. “Any more than this,” Pires says, “and the polish may become bumpy or too thick to dry.” Applying one thin coat across all of your nails in this manner should give you enough drying time in between layers. For most colors, apply two coats.
-
Finally, add a clear topcoat — two full layers of it, according to Goldstein, followed with an extra dab along the tip of each nail, an area that’s vulnerable to chipping. Seche Vite is a good, protective option, and Yamamoto loves Essie’s Gel Couture Longwear Top Coat.
-
Whichever hand you’re painting, Goldstein advises moving your dominant hand to where you need it, while keeping the other one straight and mostly still.
6. Maintain your manicure
Moisturizing regularly and putting on cuticle oil as part of your nighttime routine will help keep your hands healthy and soft. “If a few days in, your manicure has lost its shine, you can [add] a fresh topcoat,” Pires says. “And if you’re doing the dishes or cleaning, always wear gloves.”


